![]()
![]()
![]()
![]()

Process
It’s an early lesson on your way to being a ‘proper’ chef. And in those early apprenticeship months I would spend hour upon hour filleting fish after fish under the supervision of my head chef or sous chef. It’s a skill that could easily be overlooked now and something I now appreciate more than ever. If you can fillet your own fish, it gives you access to the freshest and best ingredients. It if you master it at home opens so many incredible ingredients from local businesses that just aren’t available in the big characterless supermarkets.
1. Start with the Right Tools: make sure you have the following in hands reach and cleaned beforehand, including a sharp fillet knife, a cutting board with a non-slip surface, and a trash bag or container for waste. A flexible and narrow-bladed fillet knife works best for precision.
“At this point we will let you into a little secret, here at Faber when the fish is first delivered fresh we hang it with salt blocks in a dedicated fridge a day to let the fish rest and dry slightly so that when we cook it, the skin has a more intense flavour and crispness. At home though it may not be possible to hang a large fish in your fridge alongside the kid’s yoghurt (nor recommended), so we advise to avoid this.”
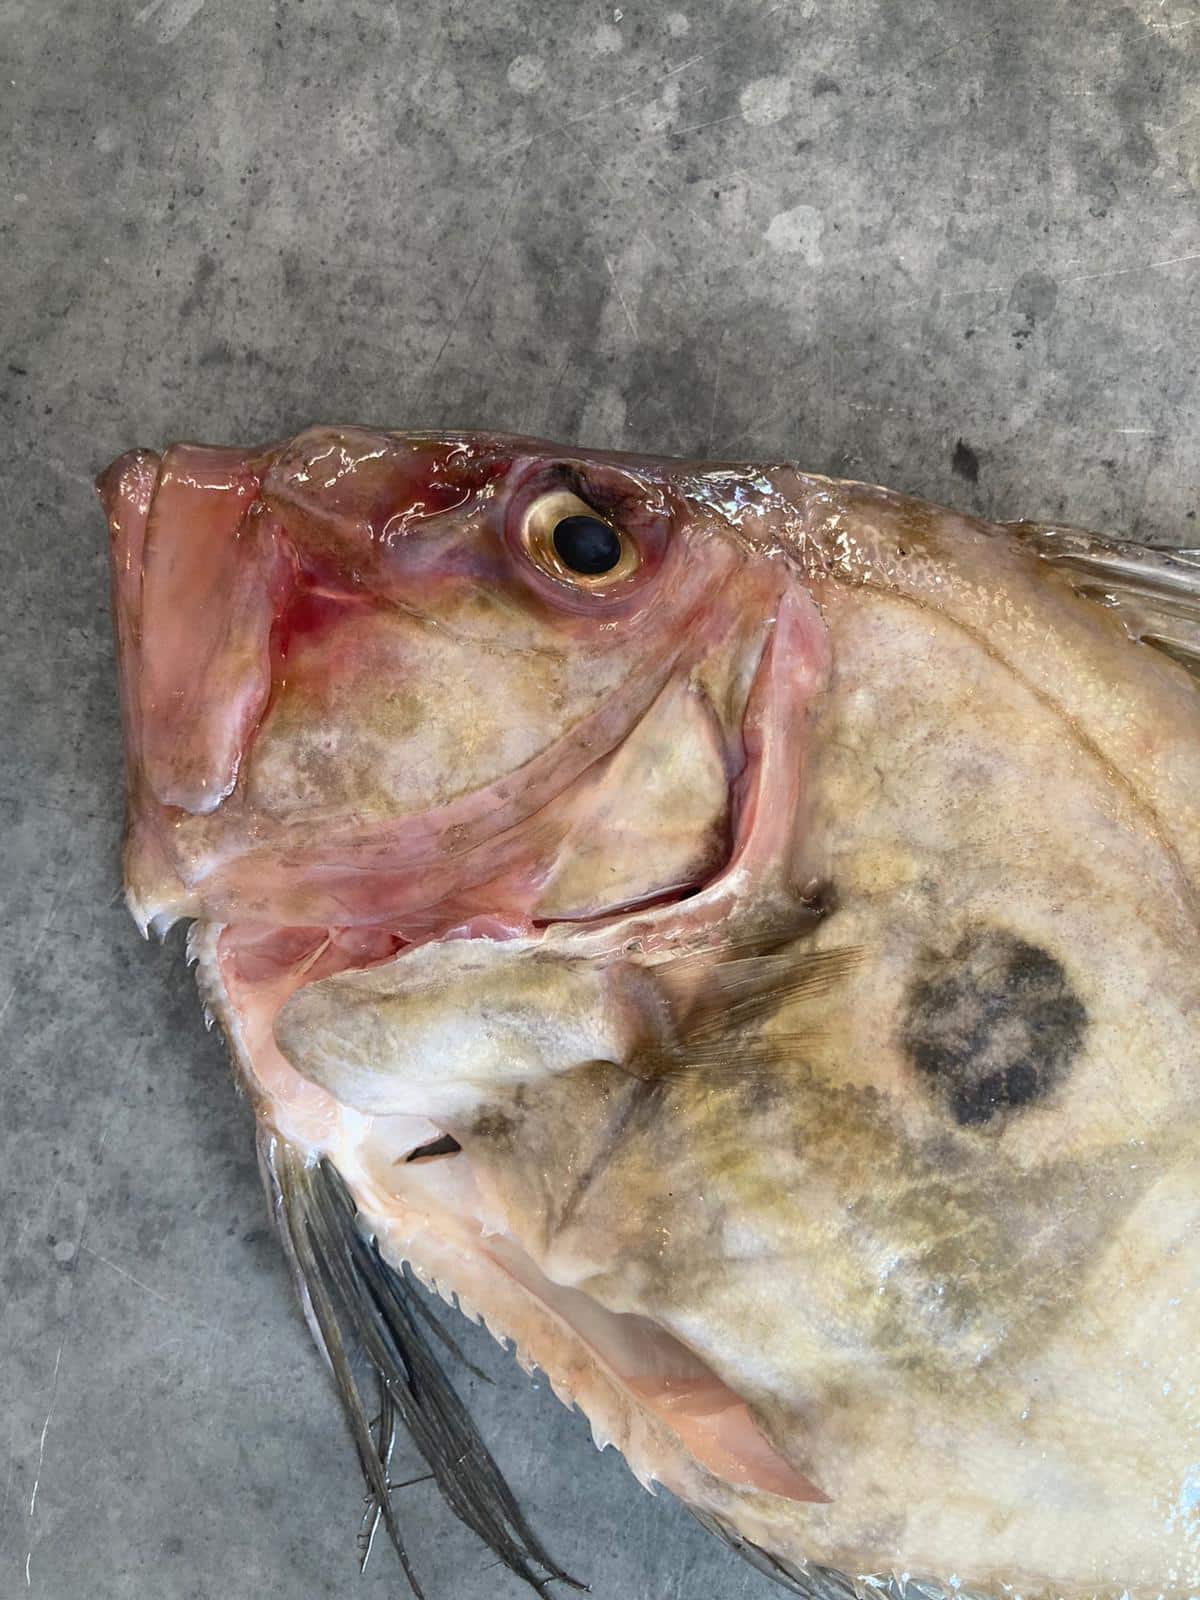
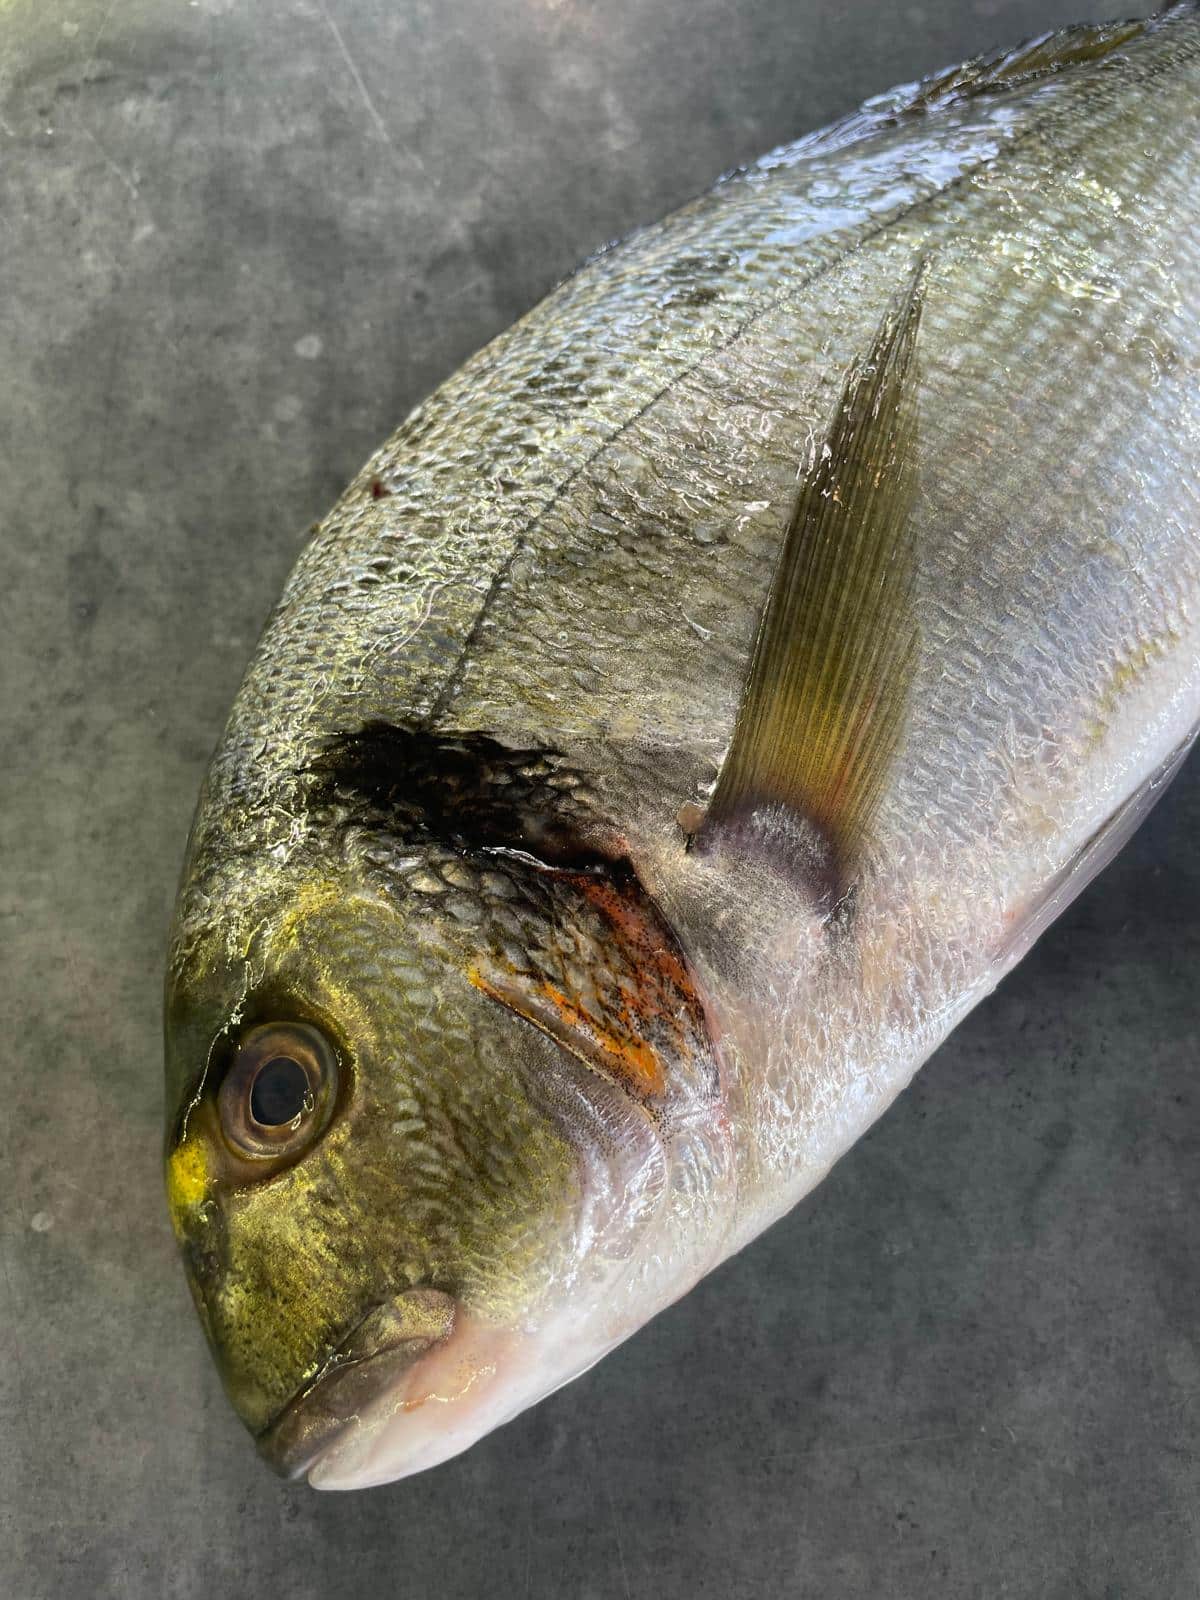
2. Scale and Gut the Fish: Begin by scaling the fish using a scaler or the back of a knife, this can be a messy job. Once scaled, make an incision from the vent (anus) to the base of the fish’s head. Remove the guts, making sure to scoop out any blood or debris. Rinse the fish thoroughly under cold water.
3. Position the Fish: Place the fish on its side on the cutting board. A damp towel under the cutting board can provide extra stability.
4. Make the First Incision: Using the fillet knife, make a deep incision just behind the gills and pectoral fin, cutting down to the backbone. Angle the knife slightly towards the head, following the natural curve of the fish.
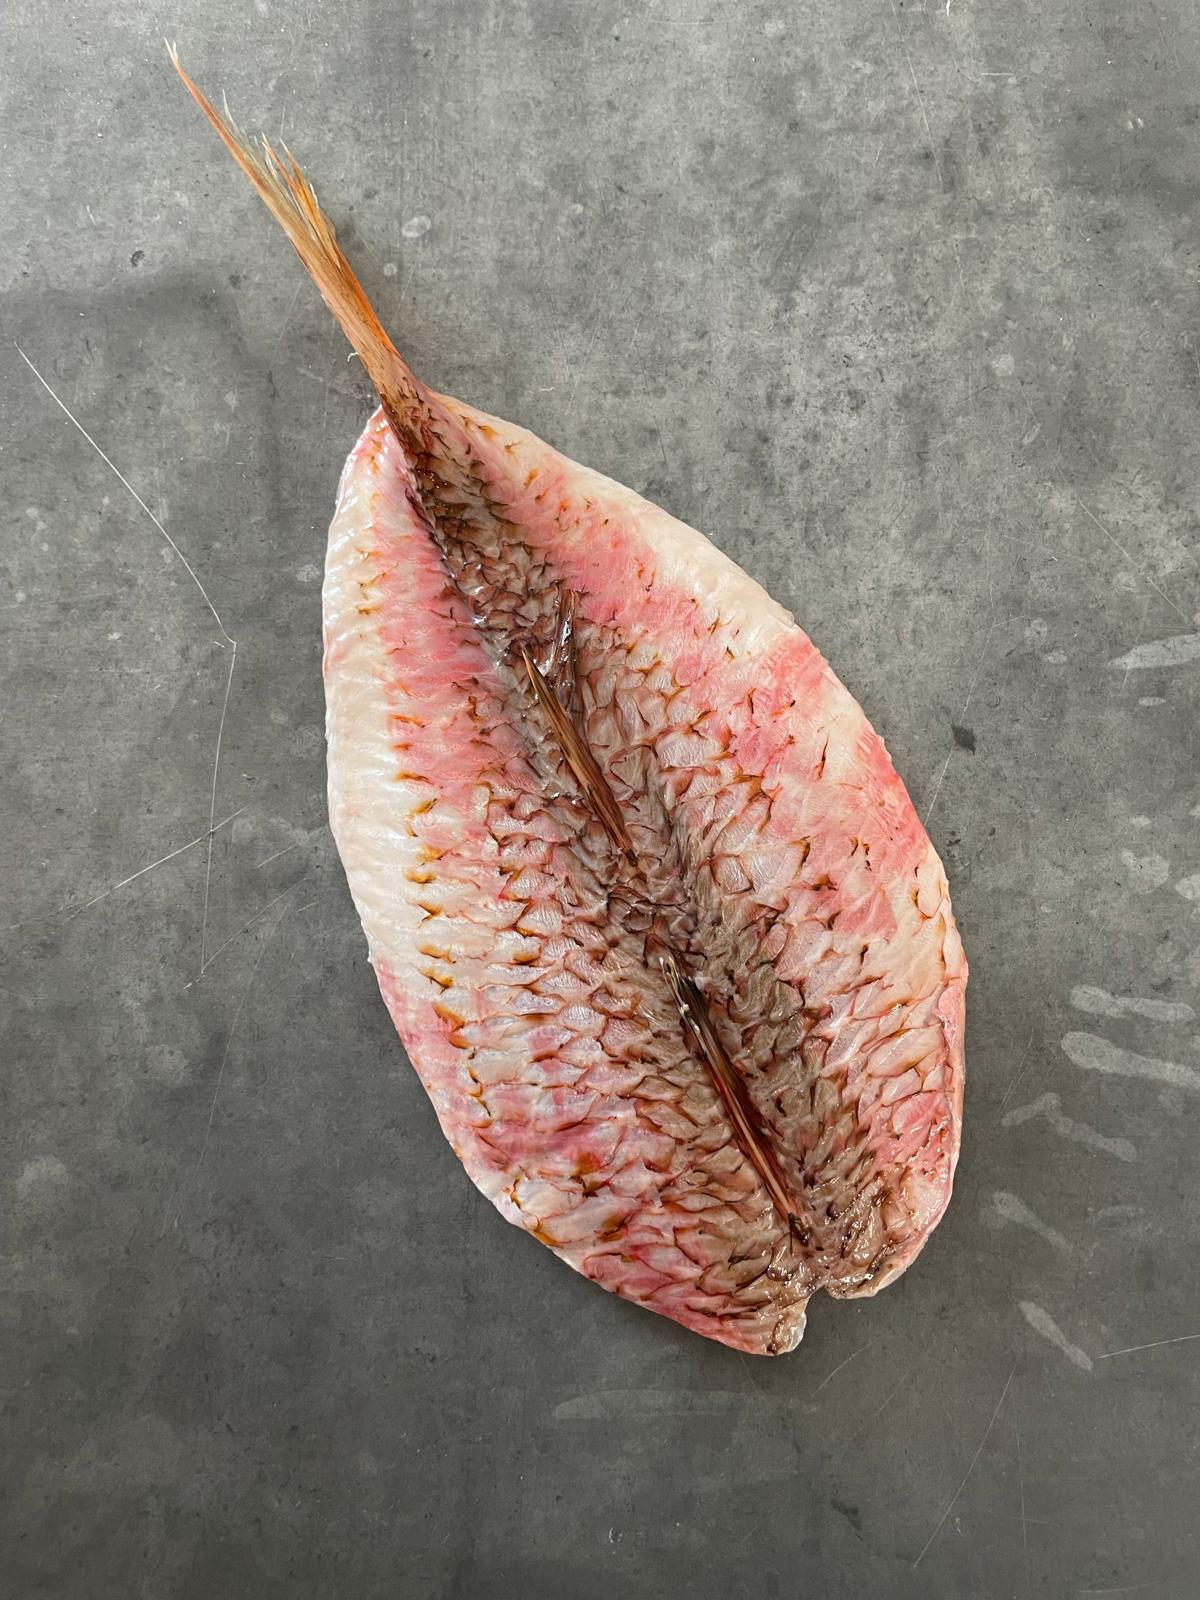
5. Follow the Backbone: With the knife parallel to the spine, work your way along the backbone towards the tail. Use smooth, controlled strokes to separate the fillet from the ribcage, keeping the blade as close to the bones as possible.
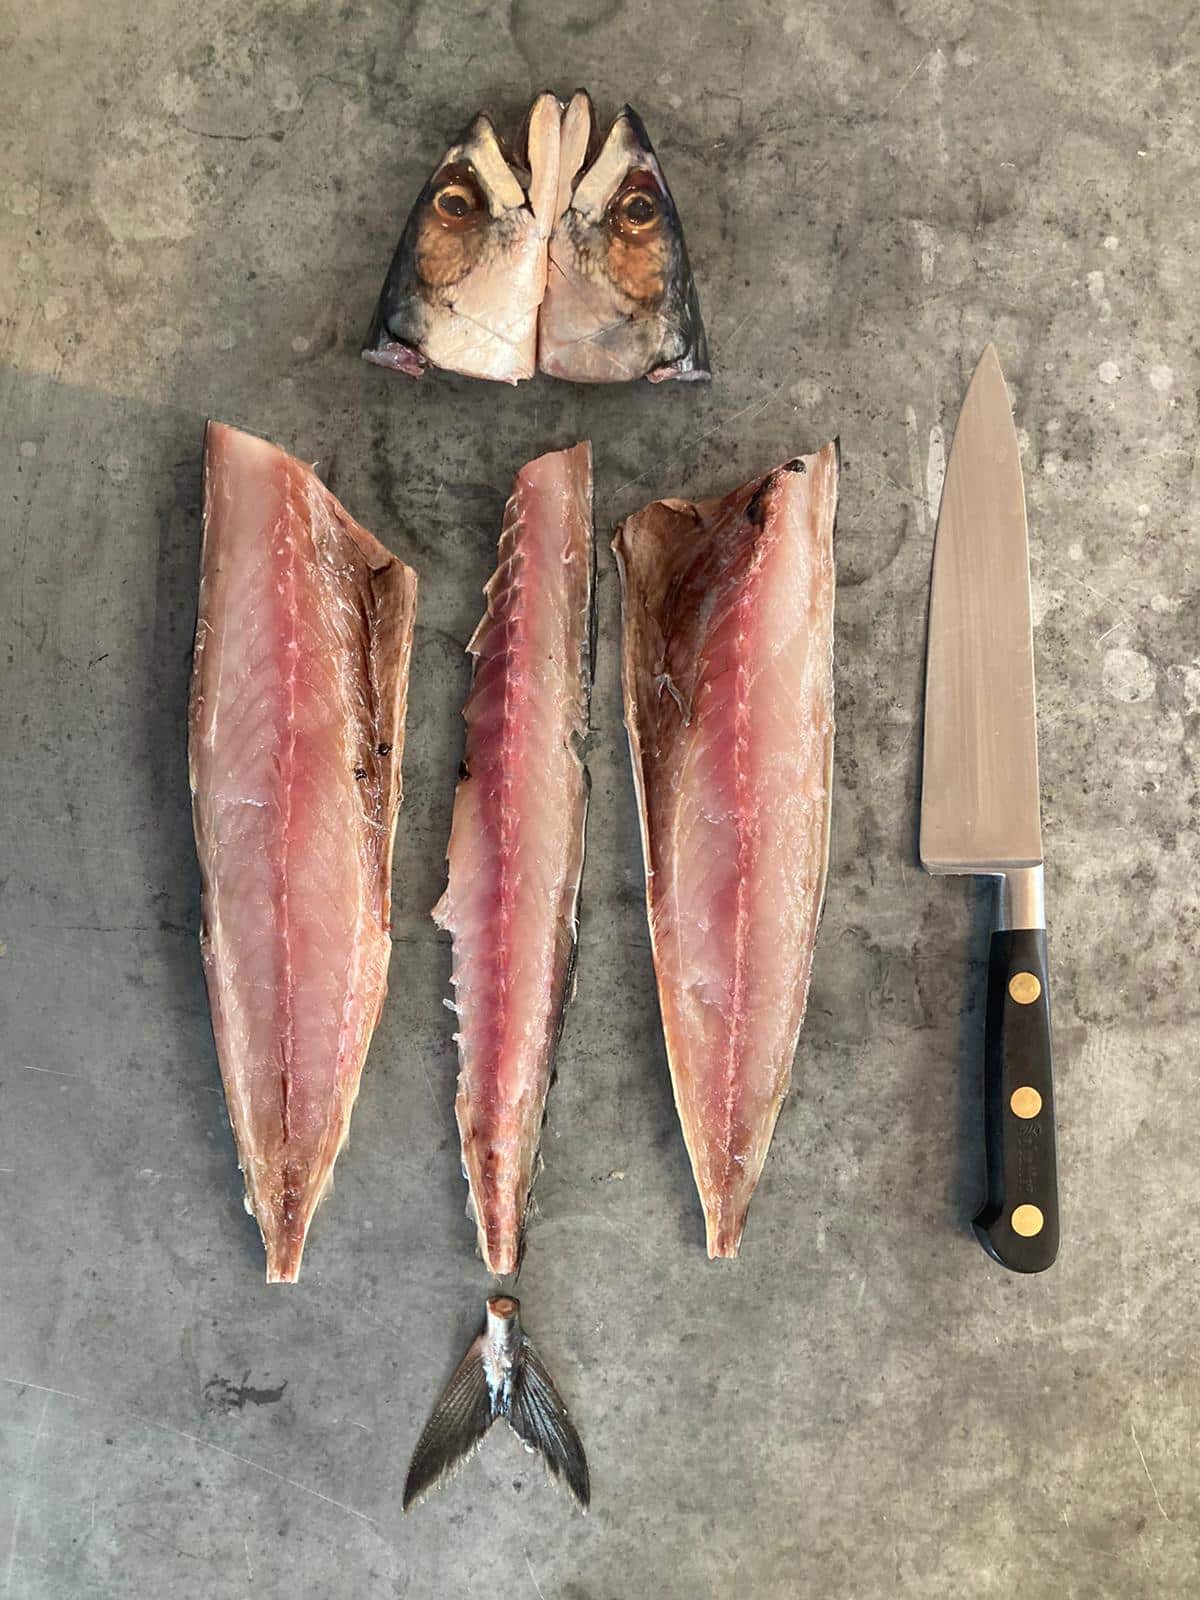
6. Lift the Fillet: Once the fillet is detached from the backbone, lift it gently, exposing the ribcage. Continue to use the knife to free the fillet from the ribs.
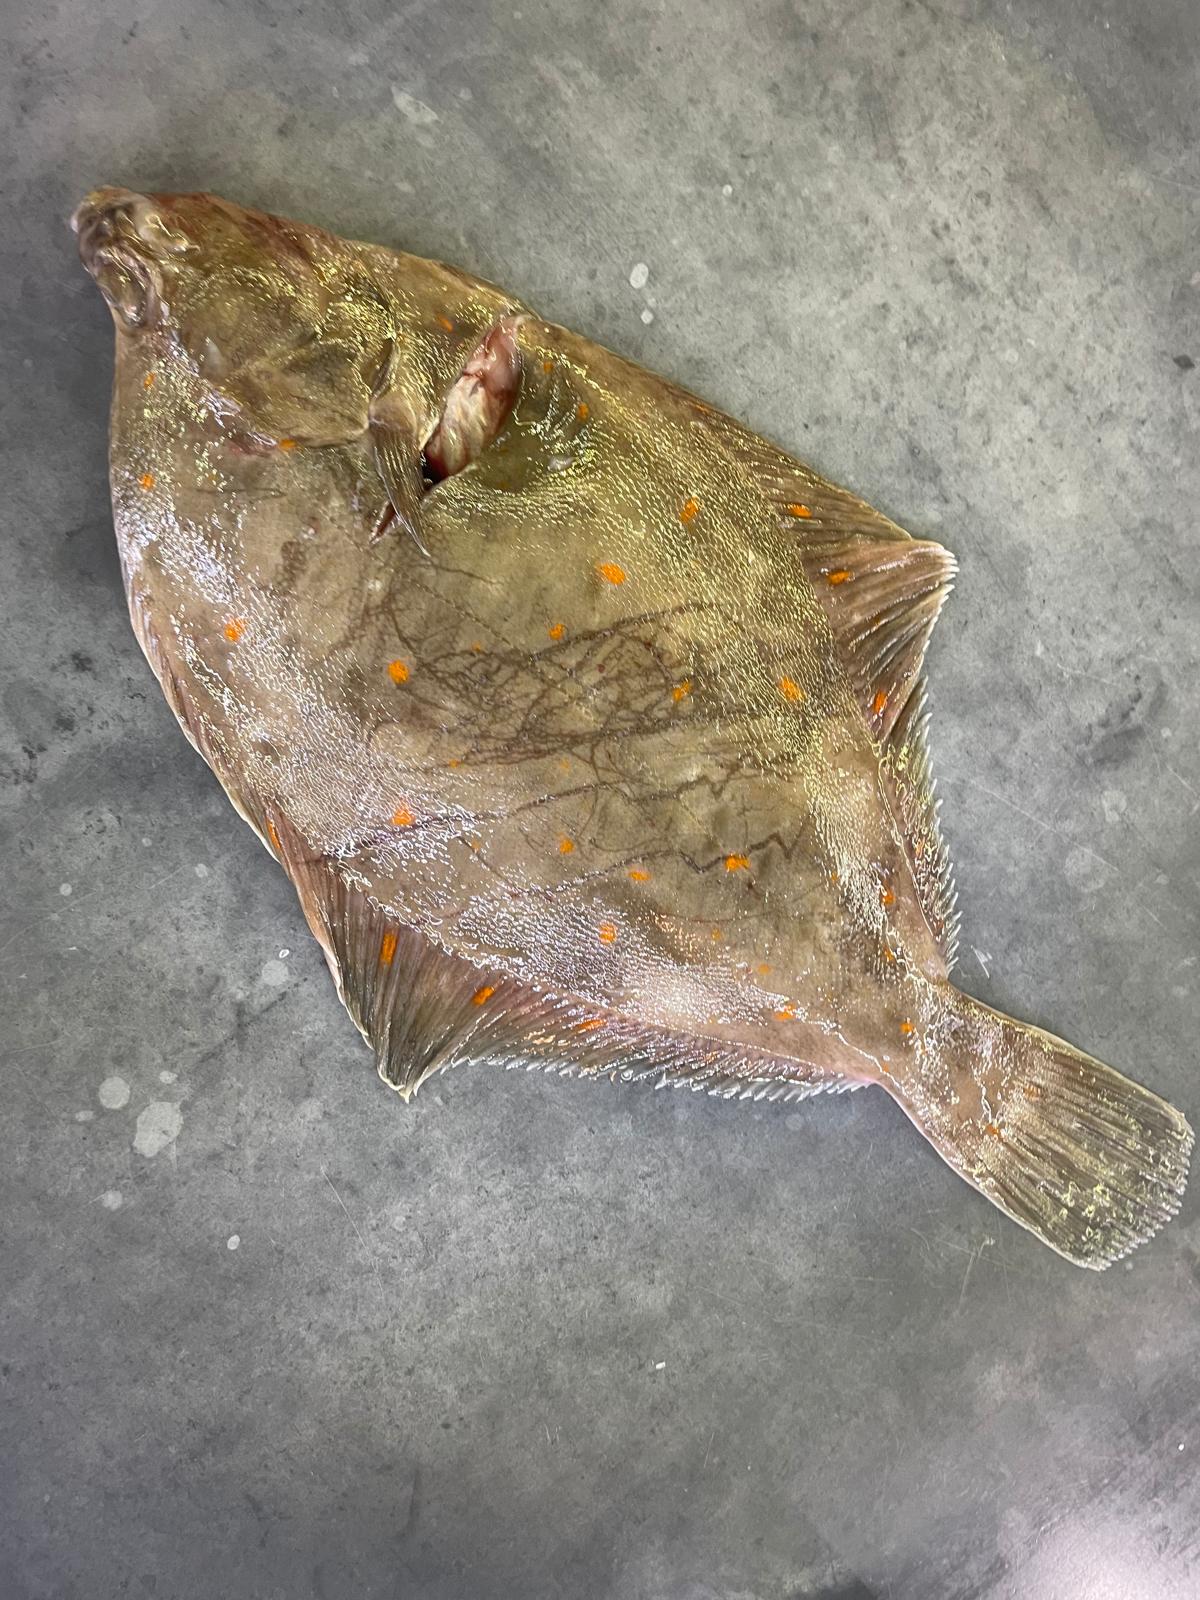
7. Repeat on the Other Side: Turn the fish over and repeat the process on the other side. Each fish has its unique bone structure, so adjust your technique accordingly, especially when it comes to flat fish like Plaice and Brill.
8. Skin the Fillets: To remove the skin, lay the fillet skin-side down on the cutting board. Hold the tail firmly and insert the knife at the tail end. With a gentle sawing motion, work the knife between the flesh and the skin. If you are visiting a quality and well established fishmonger, they will be able to help here, don’t be afraid to ask, they are passionate about what they do and want to help you. So many people are embarrassed to ask but remember fishmongers and chefs have trained for years and are proud to impart their knowledge to you.
9. Check for Bones: Run your fingers along the fillet to check for any remaining bones. Use tweezers or pliers to remove any small bones that may be present, you’ll find this more necessary with some fish like Gurnard and it’s much more enjoyable to do now than when eating the fish.
10. Rinse and Store: Rinse the fillets under cold water to remove any remaining scales or debris. Pat them dry with paper towels and store in the refrigerator or freezer depending on your immediate cooking plans. We always recommend buy, fillet and consume within 48hrs for the ultimate appreciation of what you have on the plate.
Here are eight simple yet delicious dressings that pair perfectly with fresh oysters, each designed to complement their natural flavour without overwhelming it.
Read moreThis year, why not surprise your guests with these five exquisite seafood-inspired recipes that are as celebratory as they are delicious?
Read moreAlcohol free cocktails made for all tastes and still using British coastal ingredients.
Read more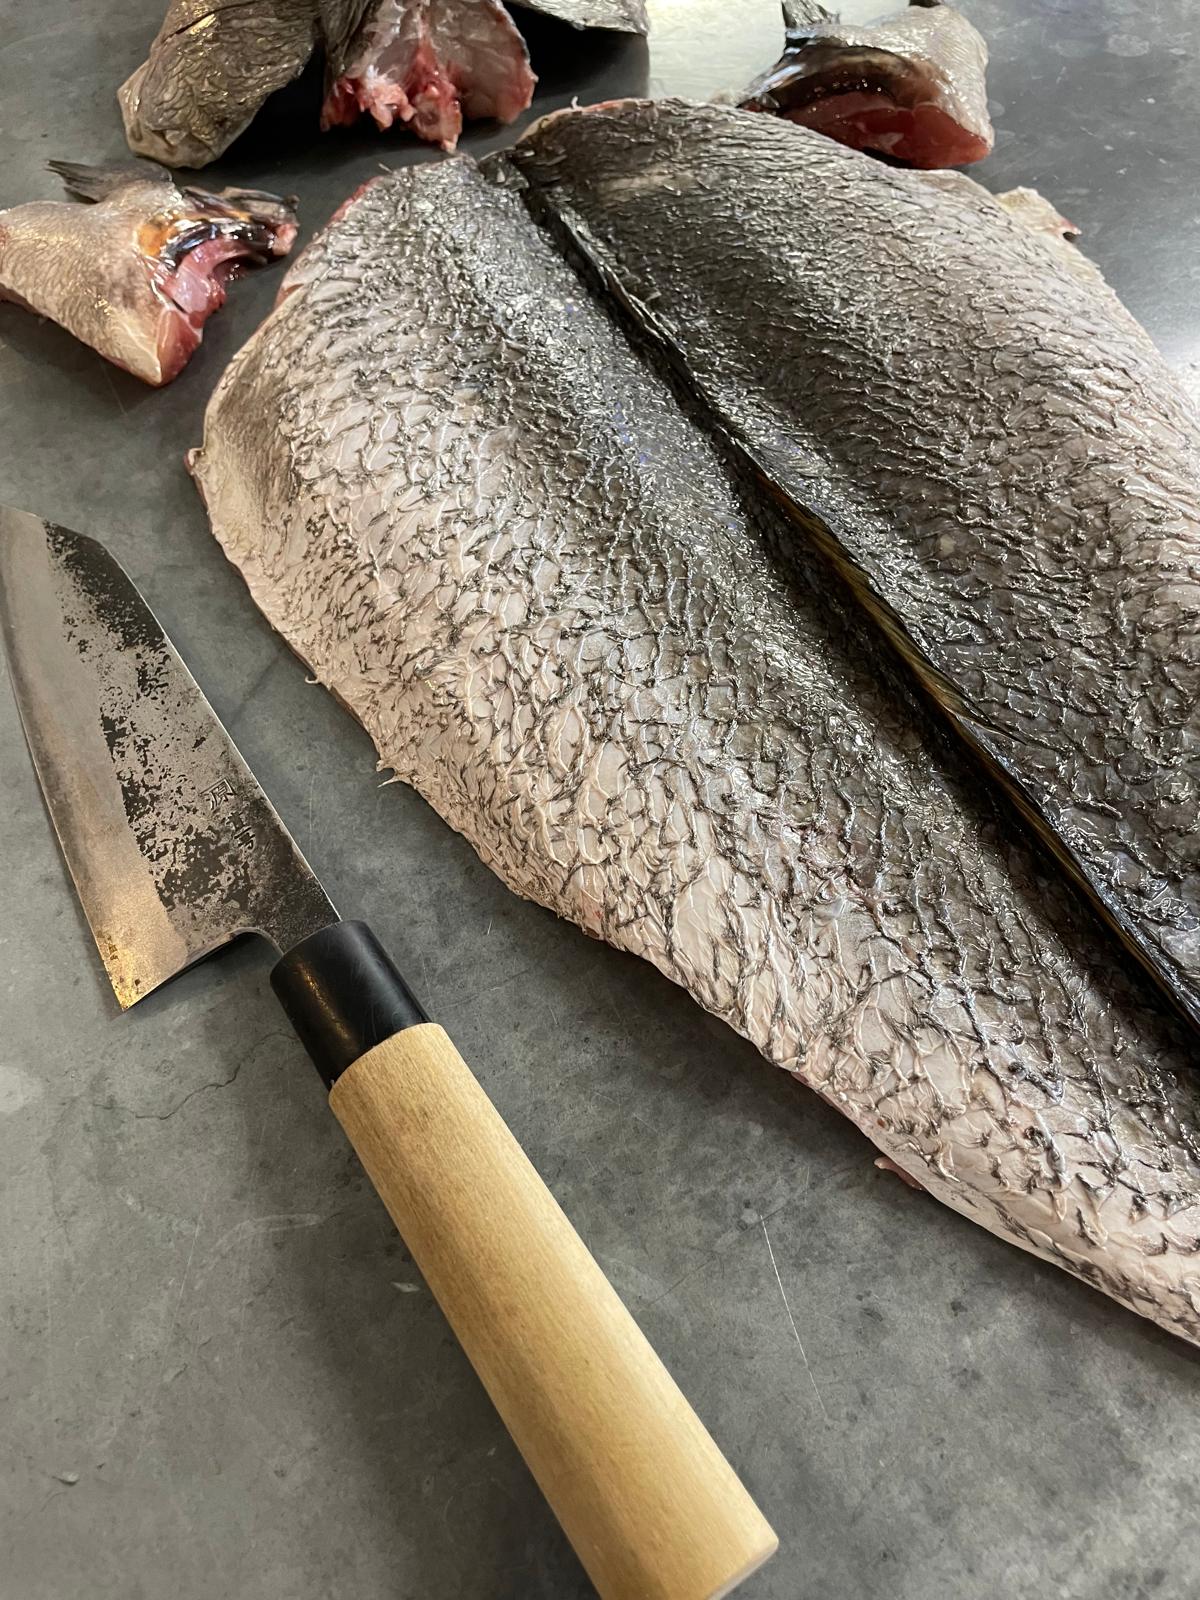