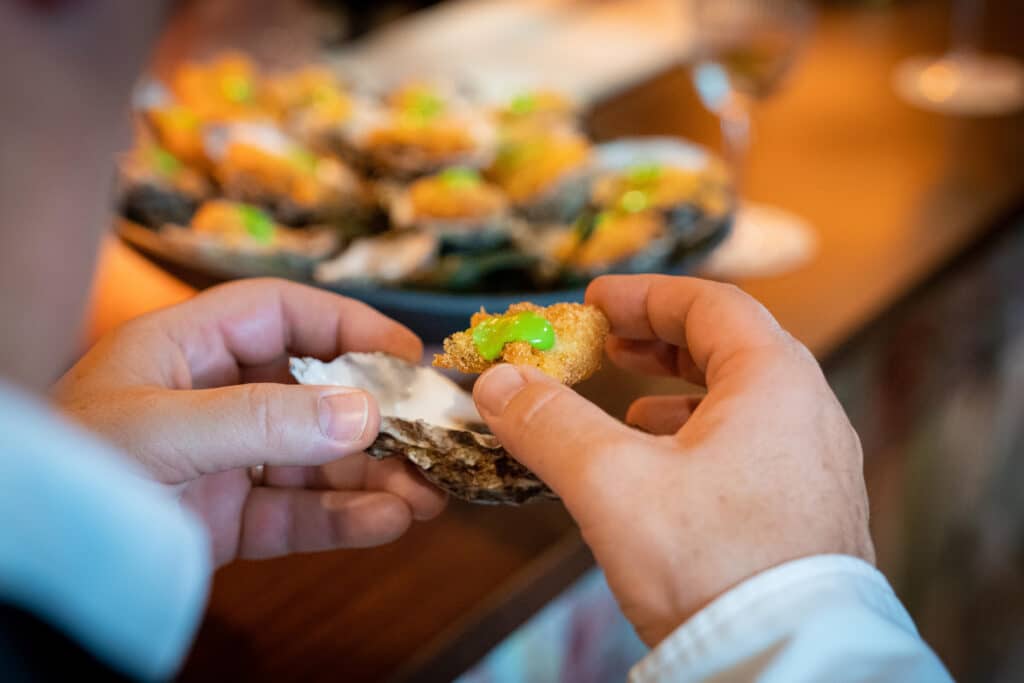
How to Shuck an Oyster

Shucking an oyster might seem like a daunting task, but with the right tools and a bit of practice, you can enjoy oysters right at home. Follow our step-by-step guide and learn how to shuck oysters like a pro!

What You'll Need

A sturdy, non-slip cutting board
A dedicated oyster shucking knife (a short, thick blade is key)
A clean kitchen towel or a pair of heavy-duty gloves to protect your hands
Fresh oysters

Step 1: Prepare Your Workspace

Safety and cleanliness are paramount when shucking oysters. Start by cleaning your oysters under cold running water to remove any debris or dirt from the shell. Lay out your kitchen towel on a flat surface, placing the cutting board on top. This setup will help stabilise the oyster and protect your hands.

Step 2: Protect Your Hands

Wrap the oyster in a fold of the kitchen towel, leaving only the hinge (the point where the two shells meet) exposed. This not only protects your hands from the knife and the sharp edges of the oyster shell but also gives you a firmer grip on the oyster itself. If you prefer, you can wear heavy-duty gloves instead of using a towel.

Step 3: Locate the Hinge

Carefully hold the oyster with the towel, ensuring the flat side of the oyster is facing up. This positions the oyster in a way that makes it easier to insert the knife into the hinge.

Step 4: Insert the Knife

Place the tip of your oyster knife at the hinge, applying gentle but firm pressure. The goal is to pop the hinge without applying so much force that the knife slips or the shell breaks. Wiggle the knife back and forth a bit if necessary, but keep the pressure steady.

Step 5: Twist to Open

Once the knife is securely inserted into the hinge, twist the knife like a key. This twisting motion should pop the shell open. Be careful to keep the oyster level to avoid spilling the oyster’s liquor, the delicious liquid inside the shell.

Step 6: Cut the Muscle

Open the shell slightly and slide the knife along the inside of the top shell to sever the muscle that holds the shell closed. Remove the top shell, taking care not to spill the liquor. Then, gently slide the knife under the oyster to detach it from the bottom shell, being careful not to tear the oyster meat.

Step 7: Serve Immediately

Oysters are best enjoyed fresh, so serve them immediately on a bed of crushed ice, with a side of lemon wedges, mignonette sauce, or your favourite condiment. Remember, the oyster’s liquor is part of the experience, so try to keep as much of it in the shell as possible.

Tips for Success

  • Always use a proper oyster shucking knife for safety and efficiency. Regular kitchen knives are not suitable and can lead to injury.
  • Practice makes perfect. Shucking oysters is an acquired skill, so don’t be discouraged if your first few attempts are less than perfect.
  • Choose fresh, high-quality oysters from reputable sources. Fresh oysters should smell like the sea and have tightly closed shells.

By following these steps, you’ll be able to shuck oysters with confidence and enjoy this delicacy anytime you wish. Whether you’re preparing a romantic dinner, a festive appetiser, or simply indulging in a solo treat, freshly shucked oysters bring a taste of the ocean to your table.

Book NowMenu